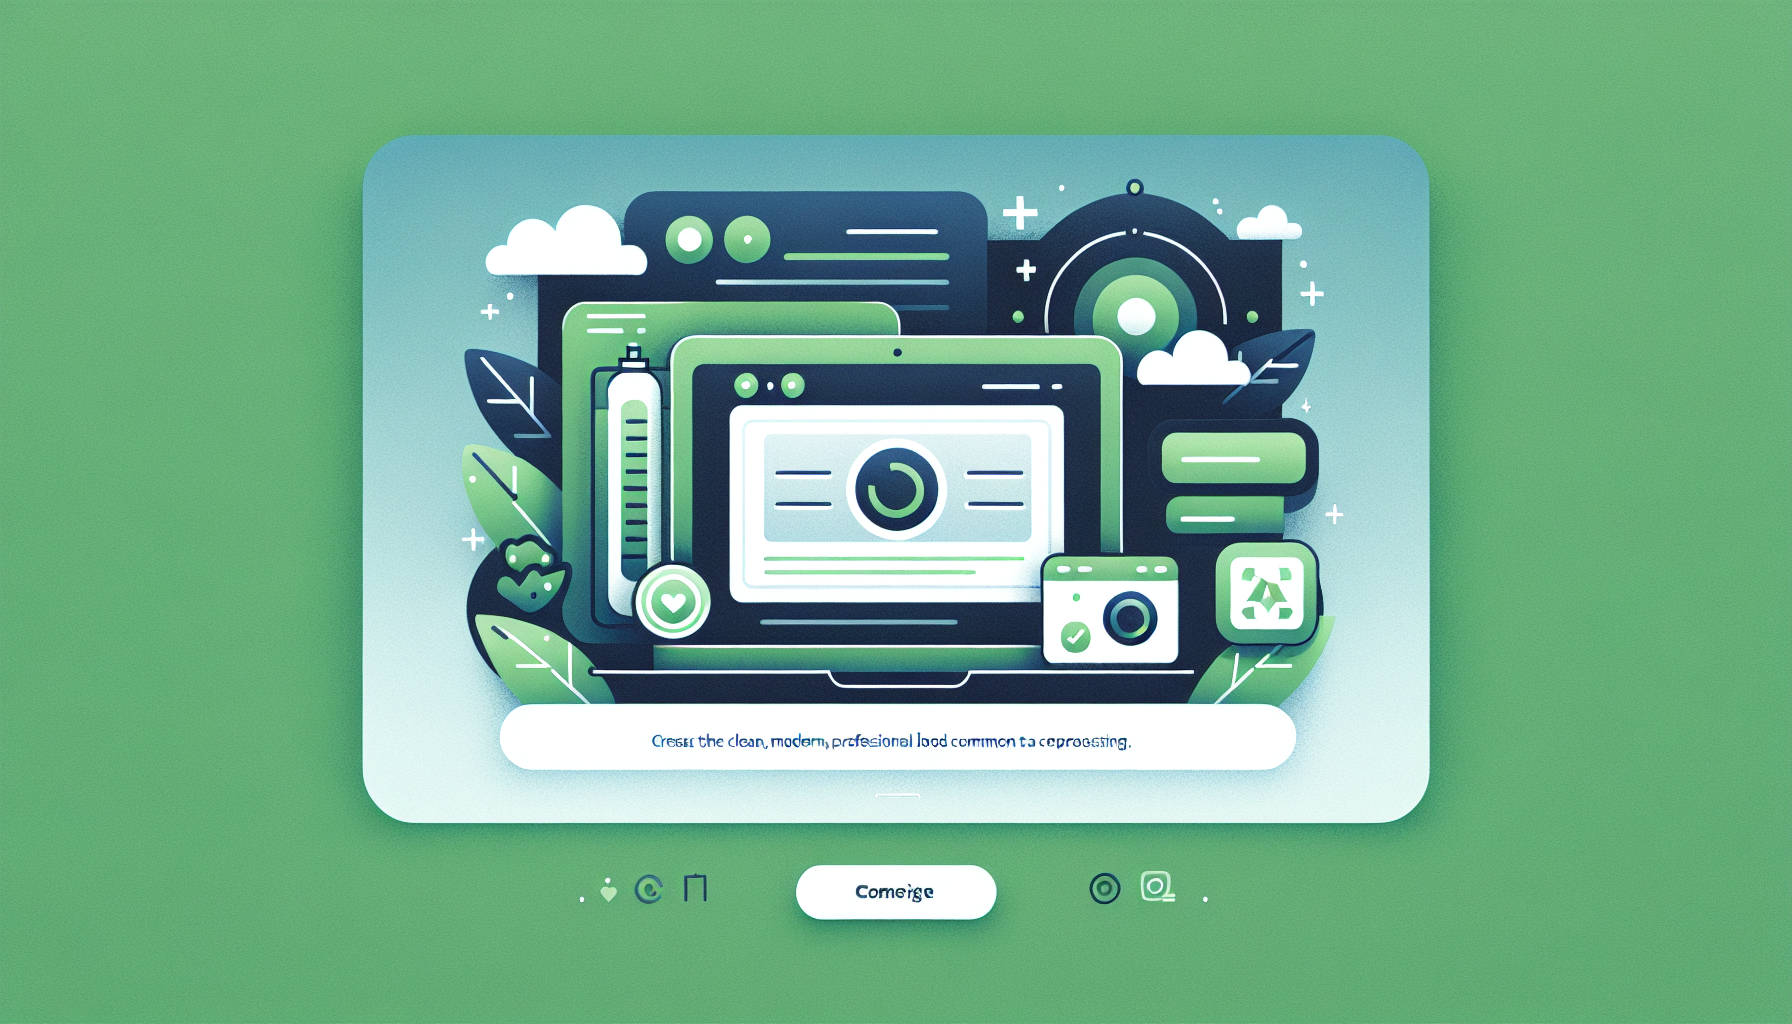
The image compressor on SosialHits is built for a practical publishing workflow: you have an image that looks fine, but the file size is heavier than it should be for a website, landing page, product gallery, blog post, or campaign asset. Instead of opening design software or uploading the file to a server-based tool, you can drag the image into the browser, adjust the compression settings, preview the result, and download a lighter file in a few steps.
The live tool is straightforward. You start with Choose File or drag and drop a JPG, PNG, or WebP image. Then you can pick the output format using Auto, JPG, PNG, or WebP, adjust the quality slider, compare the original and compressed size, review the preview, and click Download Image when the result is ready. That makes it practical for teams that need faster image preparation without leaving the browser.
If you publish images to websites, ecommerce stores, blogs, landing pages, email campaigns, or social media workflows, this guide explains how the Image Compressor works, why compression matters, and how to use the tool more effectively.
Table of Contents
- What Is an Image Compressor?
- Why You Need an Image Compressor
- How to Use the SosialHits Tool Step by Step
- Format, Quality, Preview, and Savings Controls
- Best Practices for Web, SEO, and Content Publishing
- Common Use Cases
- Limitations and Review Notes
- Frequently Asked Questions
- Conclusion
What Is an Image Compressor?
An image compressor is a tool that reduces file size while trying to preserve acceptable visual quality. This matters because large image files can slow down page loading, increase storage weight, and make uploads less efficient across websites and marketing systems.
On SosialHits, the Image Compressor is designed for browser-based use. The live page describes it as a way to compress JPG, PNG, and WebP image sizes without losing visual quality, and the tool is built around that exact job. You upload one image, adjust settings, view the result, and download the optimized version.
In practice, that makes the tool useful for anyone who needs smaller assets before publishing rather than after a page has already become too heavy.
Why You Need an Image Compressor
Large image files are one of the most common reasons websites, landing pages, and content workflows become heavier than necessary. An image compressor helps because it reduces that weight before the file goes live.
It helps pages load faster
Smaller images generally reduce transfer weight, which can help pages render faster for visitors. That matters for user experience, especially on mobile devices or slower connections.
It supports cleaner publishing workflows
When image assets are lighter, they are easier to upload into CMS platforms, ecommerce systems, email builders, and landing-page editors.
It can support SEO foundations
The live page itself notes that image compression is useful for SEO workflows. Faster-loading assets can support technical SEO by improving page performance and reducing unnecessary weight.
It gives control instead of blind compression
The SosialHits tool is not only a one-click black box. You can choose the output format, adjust quality, review the preview, and check the savings before downloading the result.
Open the Image Compressor on SosialHits if you want to test the live workflow while following this guide.
How to Use the SosialHits Tool Step by Step
The easiest way to understand the tool is to follow the interface in the same order it appears on the page.
Step 1: Upload the image
Start by dragging an image into the upload zone or clicking Choose File. The tool accepts JPG, PNG, and WebP images, with a maximum size of 20MB according to the live interface.
Step 2: Choose the output format
Once the image is loaded, use the format selector to choose Auto, JPG, PNG, or WebP. Auto is useful when you want the tool to stay flexible. A manual choice is helpful when you already know which format suits the asset best.
Step 3: Adjust the quality slider
The quality control lets you tune compression more precisely. Lower settings usually create smaller files, while higher settings preserve more detail. The live page shows this as a percentage range from 10% to 100%.
Step 4: Review the file-size stats
The tool displays Original Size, Compressed Size, and Savings. Those stats are useful because they let you judge whether the compression level is giving enough benefit for the visual tradeoff.
Step 5: Review the preview
Before downloading, check the preview image. This helps you spot obvious softness, artifacts, or format-related issues without leaving the page.
Step 6: Download the optimized file
When the result looks right, click Download Image. If you want to restart with another asset, use New Image.
Format, Quality, Preview, and Savings Controls
These controls are what make the Image Compressor practical rather than overly simplistic.
Format selection
The format toggle supports Auto, JPG, PNG, and WebP. JPG is often useful for photos. PNG is helpful when graphics or transparency matter. WebP is a strong modern format for many web images because it often keeps file sizes lower.
Quality control
The quality slider gives you control over the tradeoff between file size and image sharpness. This matters because not every asset needs the same compression level. A hero image may need a gentler setting than a supporting content image.
Live preview
The preview panel is one of the most useful parts of the workflow. It allows you to inspect the compressed result immediately instead of downloading several test files blindly.
Savings stats
The original-size, compressed-size, and savings cards make the effect of compression visible. That is especially useful when teams need evidence that optimization is actually reducing payload.
Best Practices for Web, SEO, and Content Publishing
Use moderate compression first
For many website images, a middle-range quality setting often gives a strong balance between smaller file size and acceptable visual quality. The exact best point depends on the asset.
Match the format to the asset type
Photos often work well as JPG or WebP. Graphics and transparent assets may still benefit from PNG. The format setting should reflect what the image is actually being used for.
Check the preview before downloading
Compression decisions should be based on visible output, not only on percentage savings. The preview helps catch issues before the asset is published.
Use smaller images to support technical SEO
Lighter images can help page speed, which supports a stronger technical foundation for SEO and a smoother user experience on content-heavy pages.
Prepare assets before upload, not after
Compressing images before they enter the CMS or landing-page builder usually leads to cleaner workflows than trying to fix oversized media later.
Common Use Cases
Blog publishing
Writers and editors can compress header images, inline illustrations, and thumbnails before publishing articles.
Ecommerce product media
Store operators can reduce the weight of product images so category and product pages stay lighter and faster.
Landing pages
Marketers can optimize hero visuals, supporting graphics, and campaign imagery before launch.
Email and campaign assets
Smaller images are often easier to use in email builders and promotional workflows where file size can affect loading and rendering.
General web optimization
Developers, SEO teams, and content teams can use the tool as part of a repeatable asset-prep process before deployment.
Limitations and Review Notes
Like any compression workflow, the Image Compressor works best when used with realistic expectations.
- Some images are already highly optimized, so the reduction may be small.
- Certain format conversions can produce larger files depending on the original asset and content type.
- Aggressive compression can reduce detail or introduce visual artifacts.
- The best setting depends on where the image will be used and how sensitive that asset is to quality loss.
Those are normal tradeoffs in image optimization and not a flaw in the tool itself.
Frequently Asked Questions
What file types does the Image Compressor support?
The live tool supports JPG, PNG, and WebP files, and the upload area indicates a maximum file size of 20MB.
What does Auto format mean?
Auto lets the workflow stay flexible instead of forcing a manual format immediately. If you know the target format you want, you can also switch directly to JPG, PNG, or WebP.
Why is preview important before download?
Preview helps you inspect the visual result before saving the file, which reduces the chance of publishing an image with avoidable quality loss.
Can this help with website speed?
Yes. Smaller images generally reduce page weight, which can help websites, landing pages, and content-heavy pages load faster.
Why is my compressed image sometimes not much smaller?
Some source files are already optimized, and some formats are less efficient for certain types of images. In those cases, the output may not shrink much.
How do I start over with a different file?
After loading an image, use the New Image button to reset the workflow and start again with another file.
Conclusion
If you need a practical image compressor for web publishing and content workflows, the SosialHits tool is a strong fit. It gives you format control, a quality slider, live preview, and clear file-size stats in one browser-based flow. Instead of compressing blindly, you can check the result before downloading the optimized file.
That makes it useful for websites, blogs, ecommerce media, landing pages, email assets, and broader SEO workflows where page weight matters. The process is simple: upload the image, choose Auto or a target format, adjust the quality, review the savings, preview the result, and click Download Image when it looks right.
To try it now, open Image Compressor on SosialHits and test it with one of your real publishing assets.